
Your post's title
Your store hasn’t published any blog posts yet. A blog can be used to talk about new product launches, tips, or other news you want to share with your customers. You can check out Shopify’s ecommerce blog for inspiration and advice for your own store and blog.
News
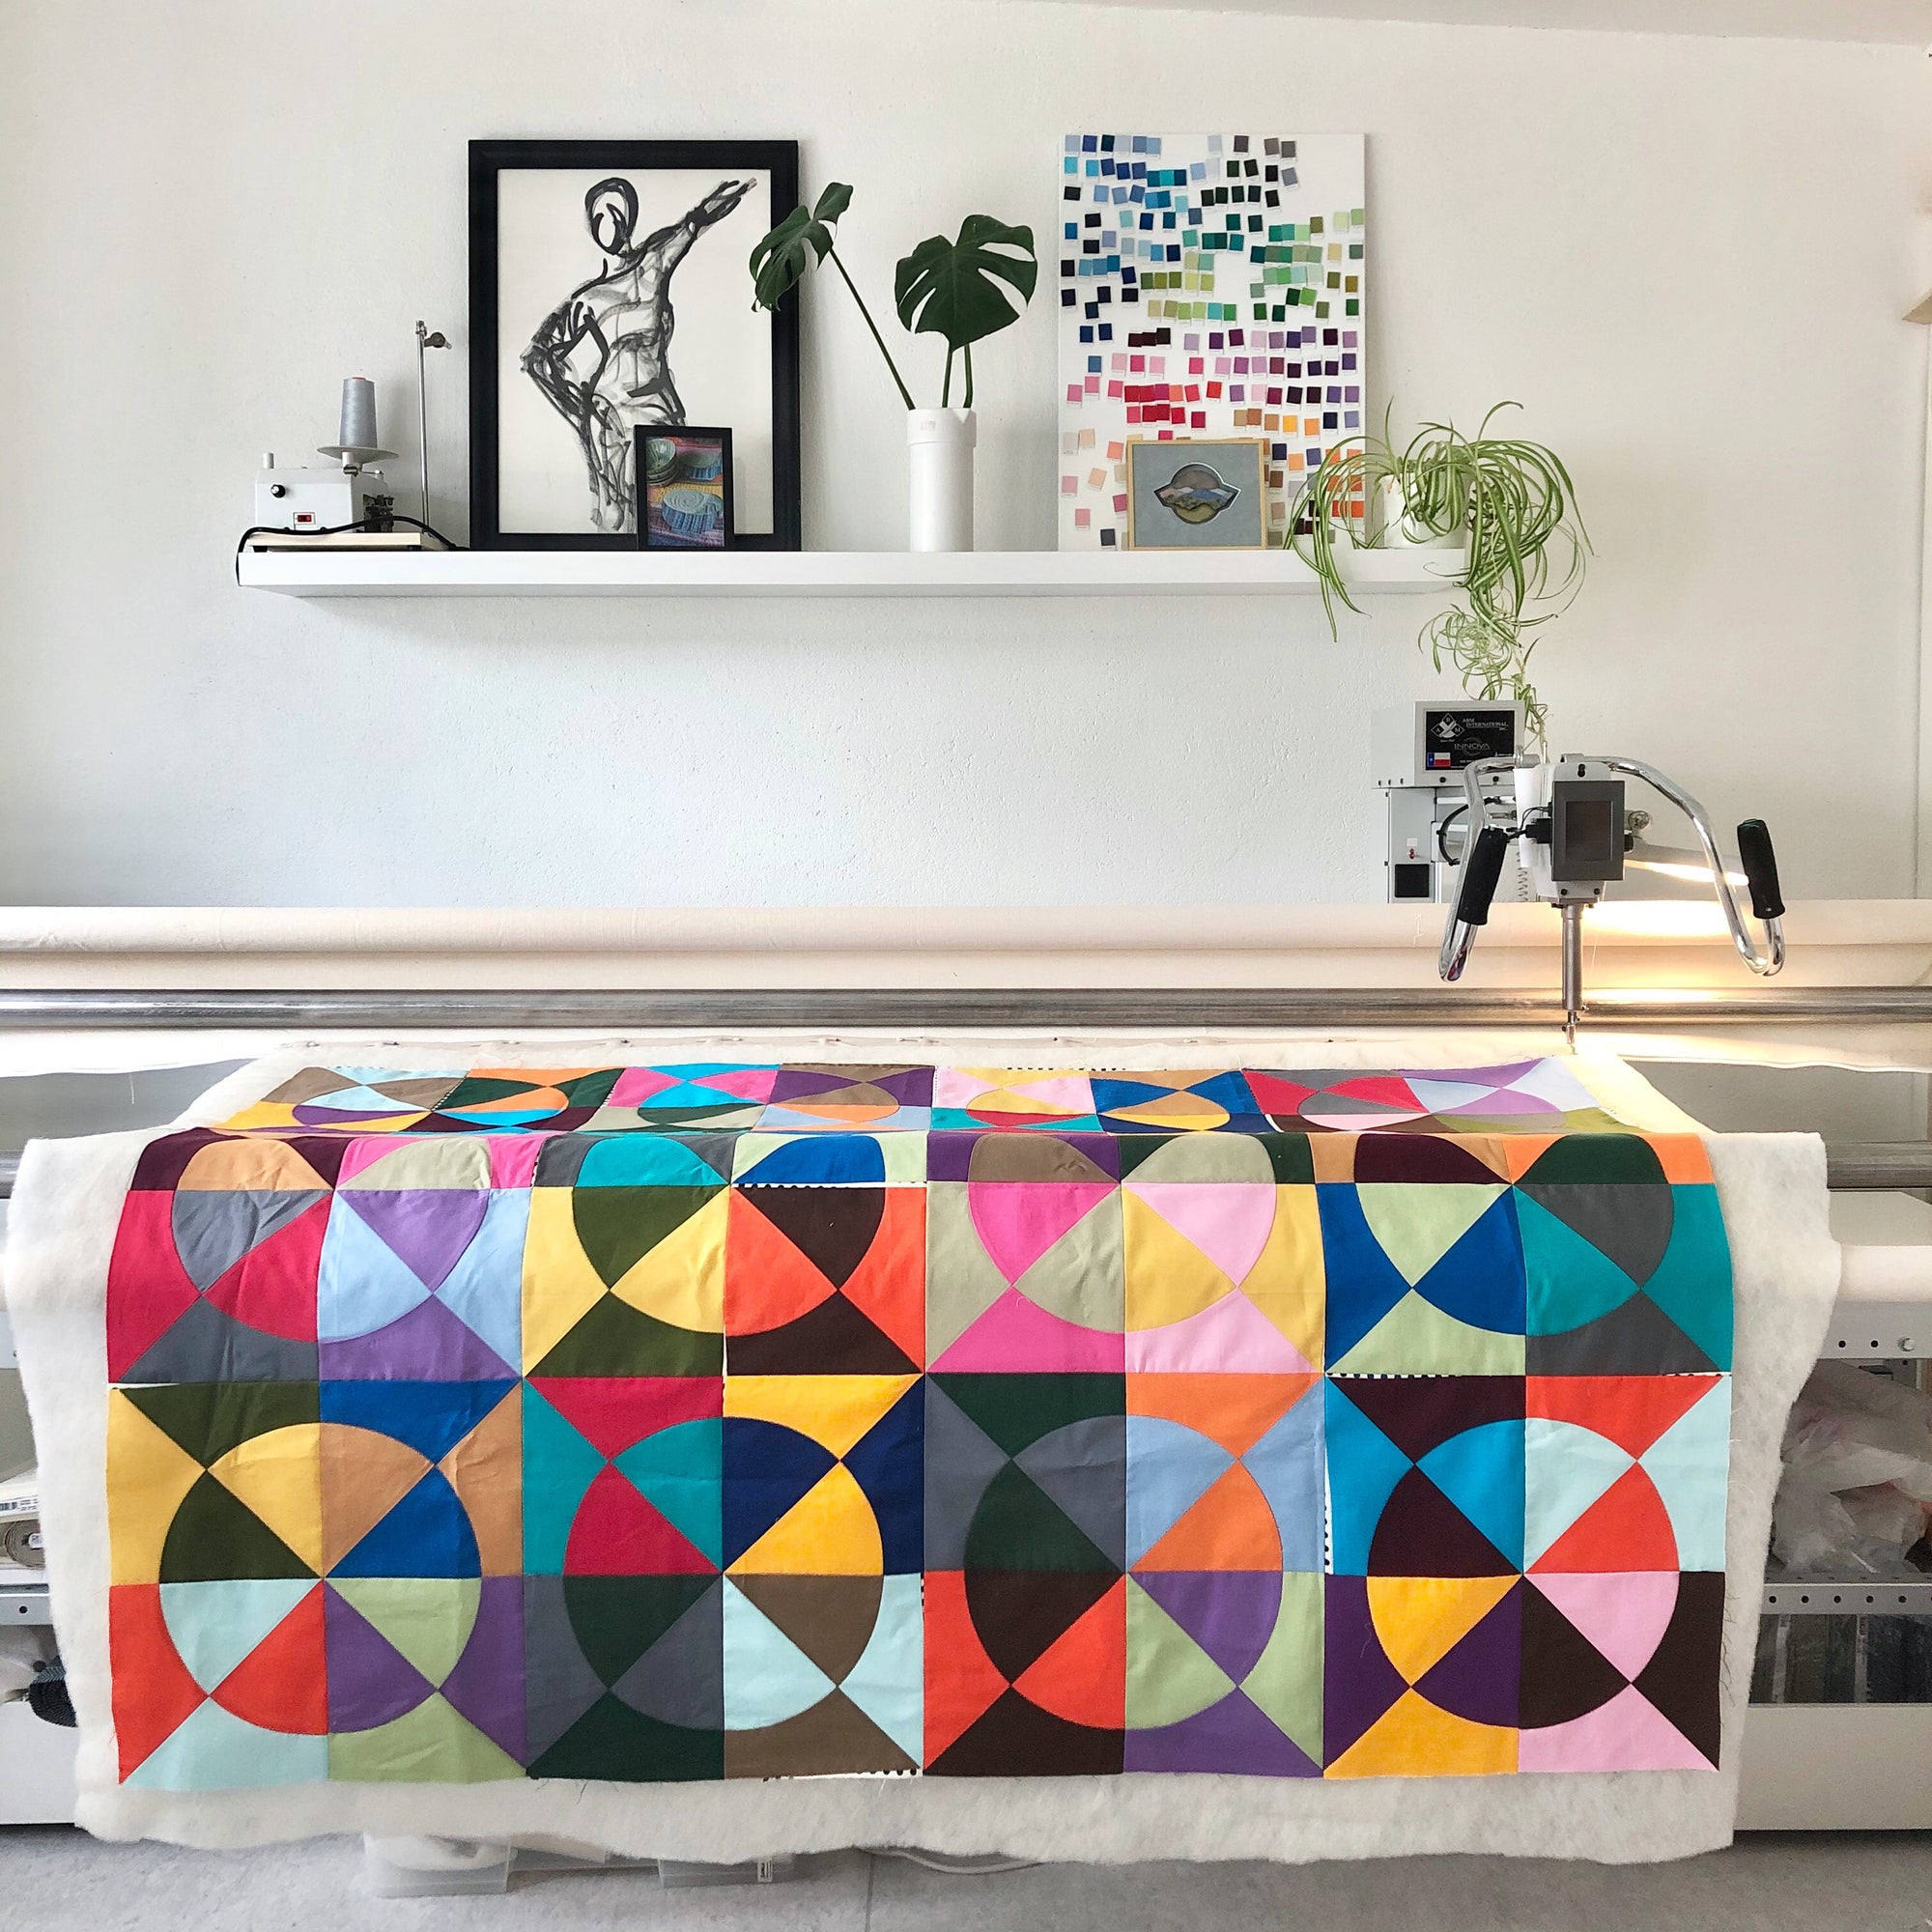
Slow Rollout of New Long Arm Services
Throughout the year, there are gaps in my schedule that I'd like to fill with some income-generating projects. I have one at the moment, so I've put...
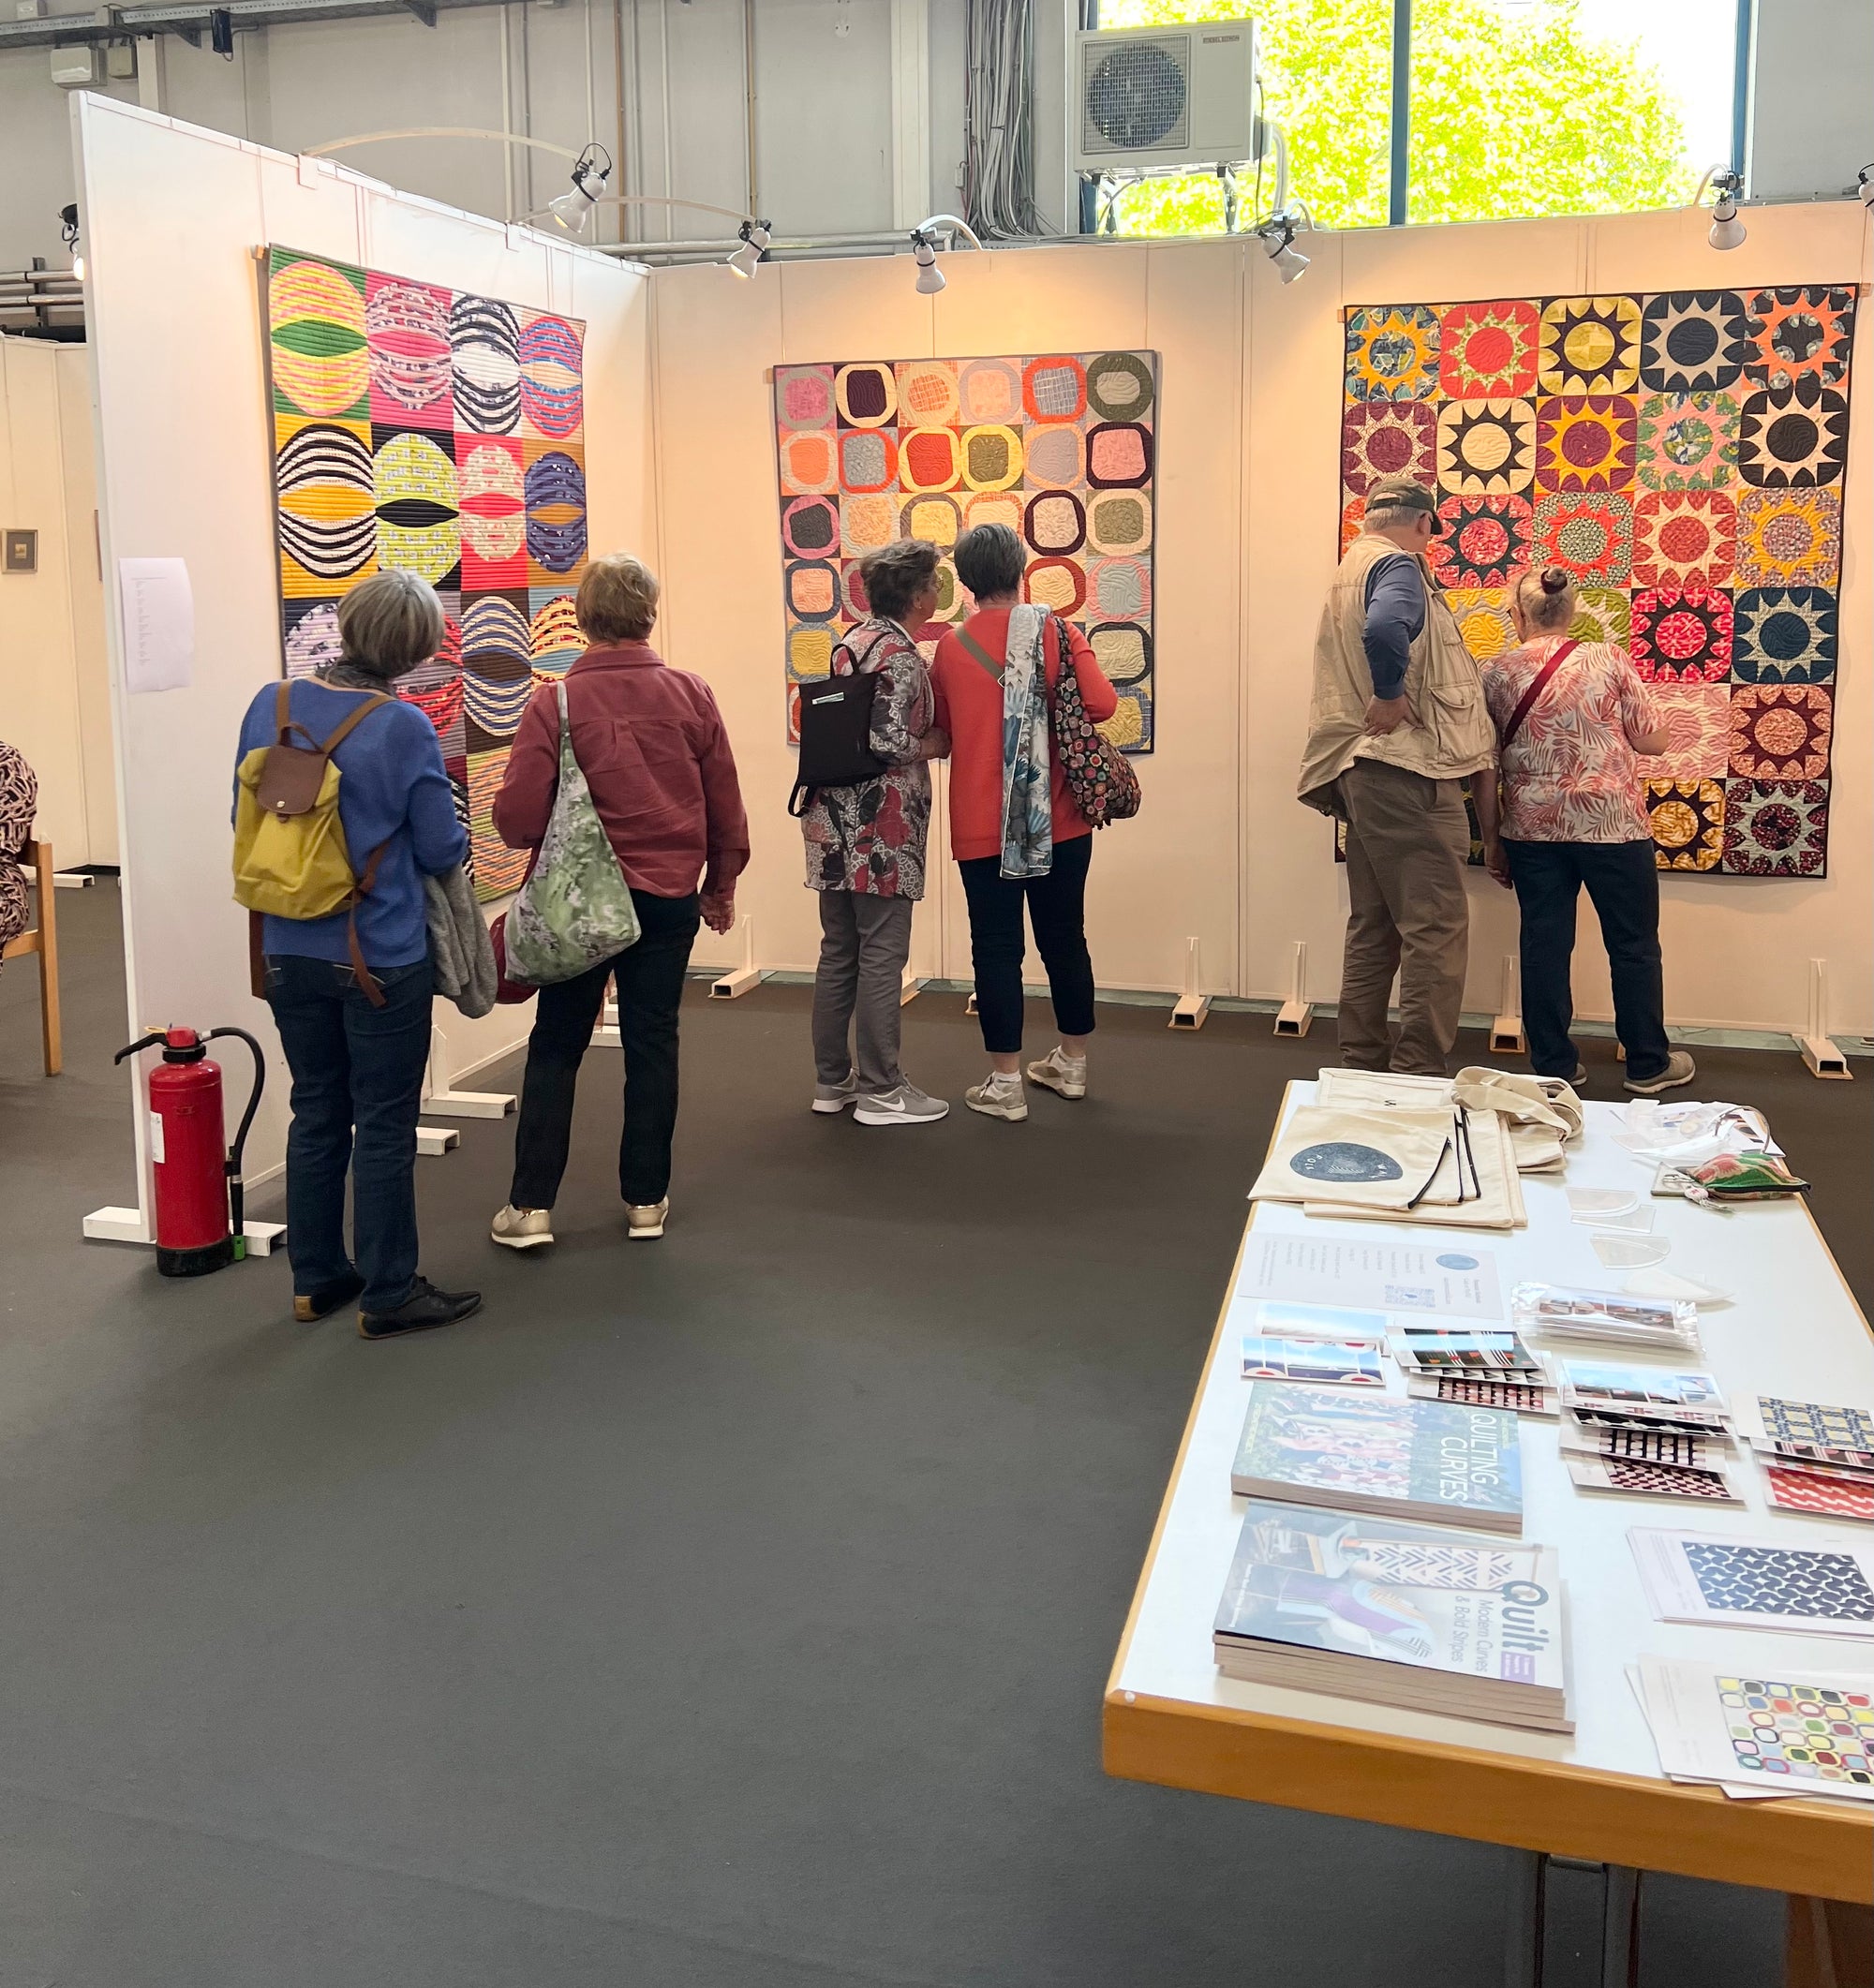
Solo Exhibition in Luxembourg
The 10th edition of Luxembourg's biennial International Quiltfestival took place from 9th until 12th May 2024. I'm delighted to have been invited for a solo exhibition among the...
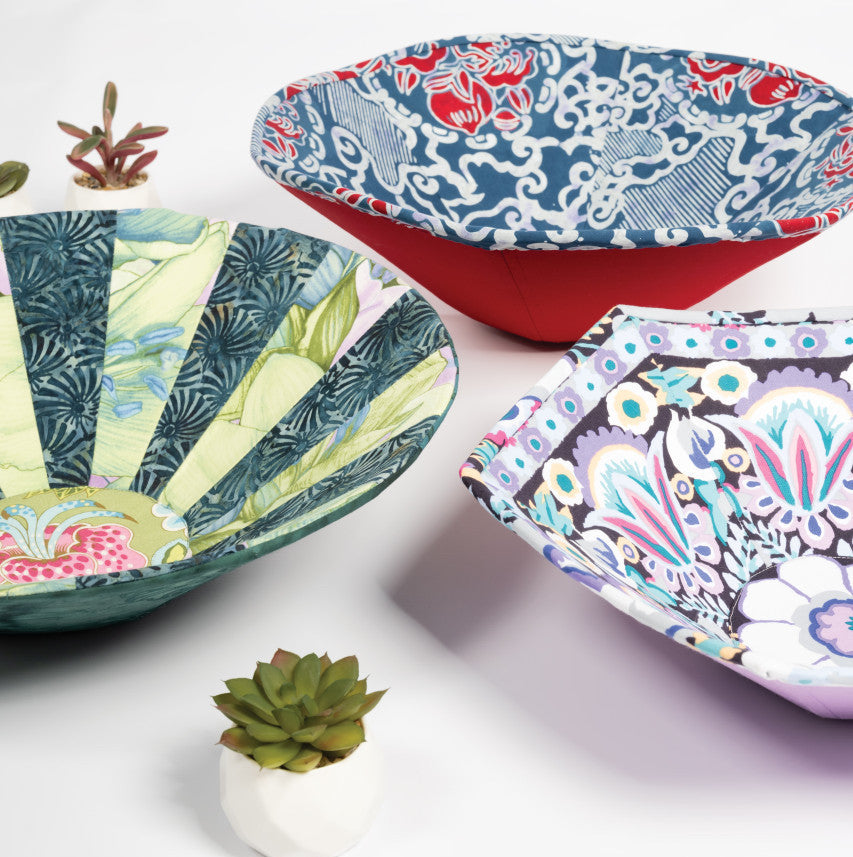
Round Fabric Art Bowls with Kirsten Fisher
My husband finds it fascinating that I believe you can never have too many bowls. In our house, there is no end to the bowls in the...
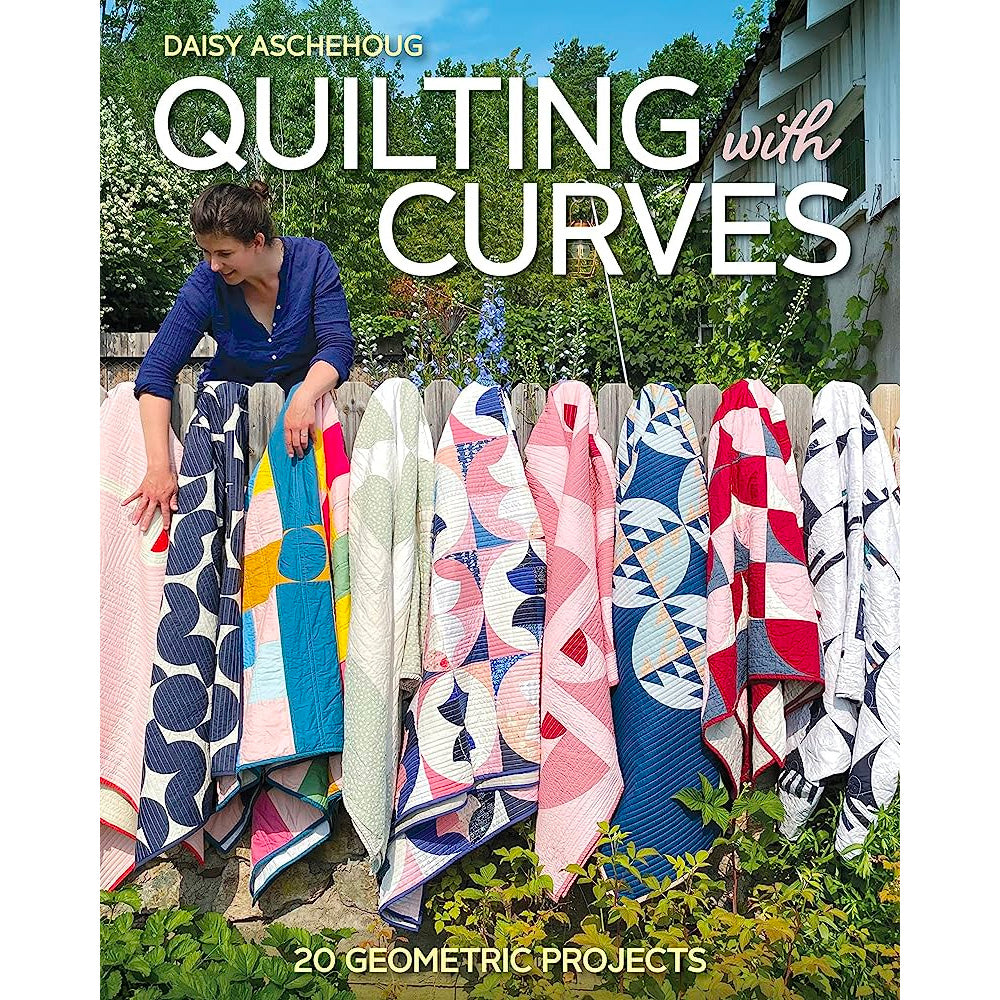
My latest book, Quilting With Curves
Quilting with Curves Book Tour I'm thrilled to announce that my new book, Quilting with Curves: 20 Geometric Projects has been released! As part of the release, 11 of...
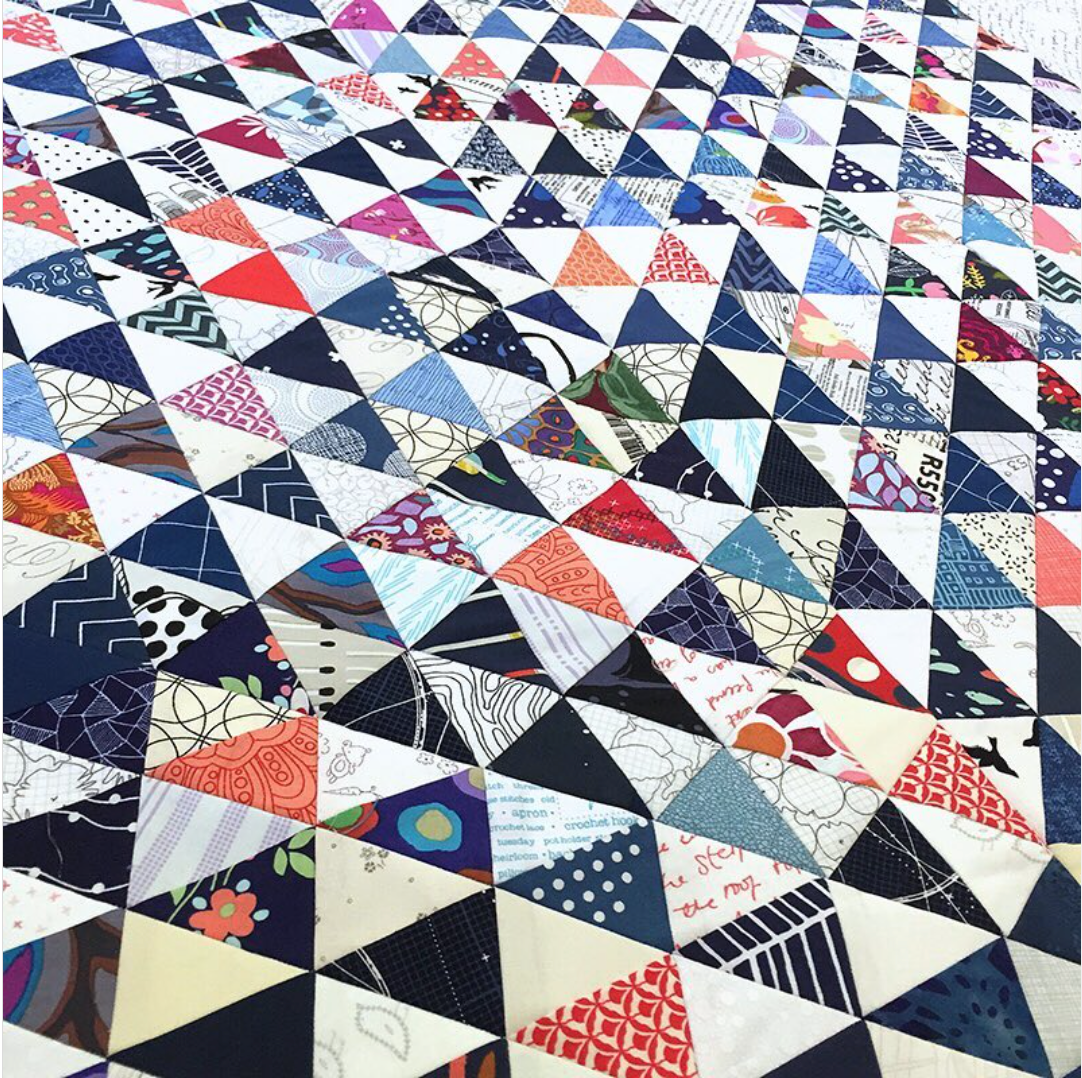
Triangle Scraps!
My fabric stash is overflowing, and lately I've been trying to focus on ways to inspire people to use what they have on hand. These...
Global Quilt Connection Videos
With so many restrictions in place during the Covid 19 pandemic, many quilt teachers switched from teaching in person to virtually. I participated in two...
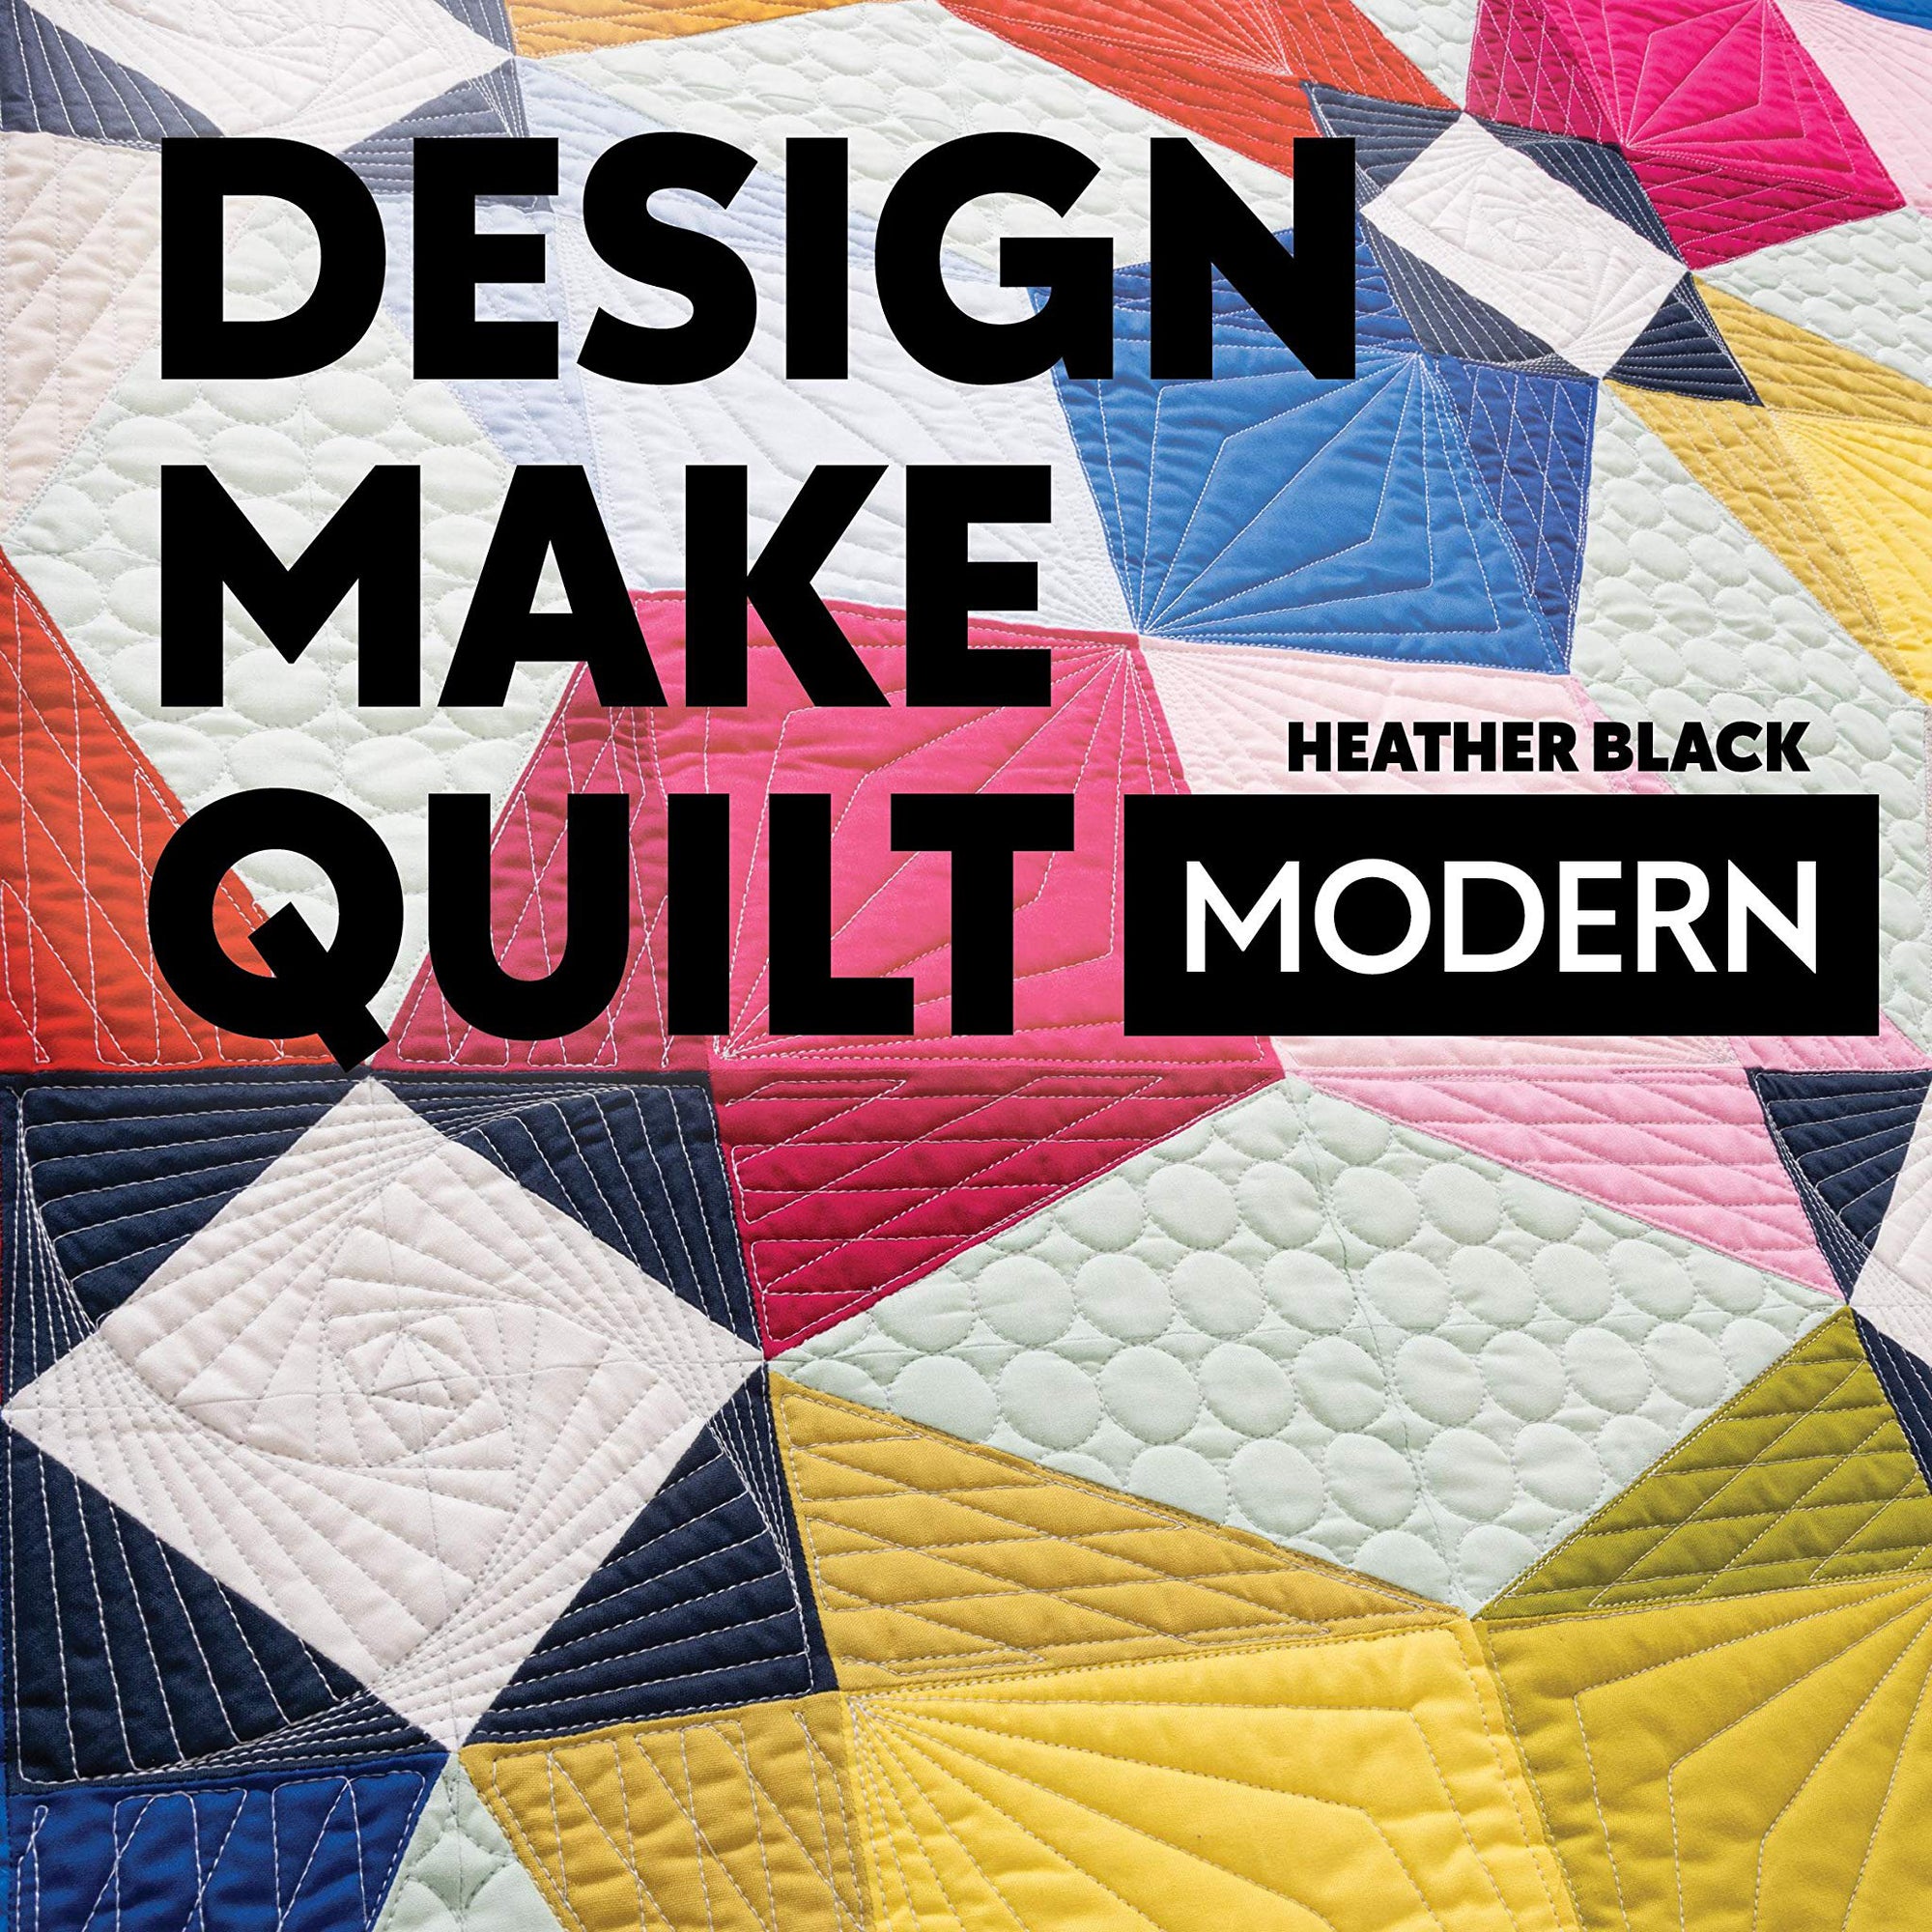
Review of a new quilting book: Design, Make, Quilt Modern
[all photos from Heather Black's new book: Design, Make, Quilt Modern] Someday, I'll do a blog post of all the different quilters that influence and...
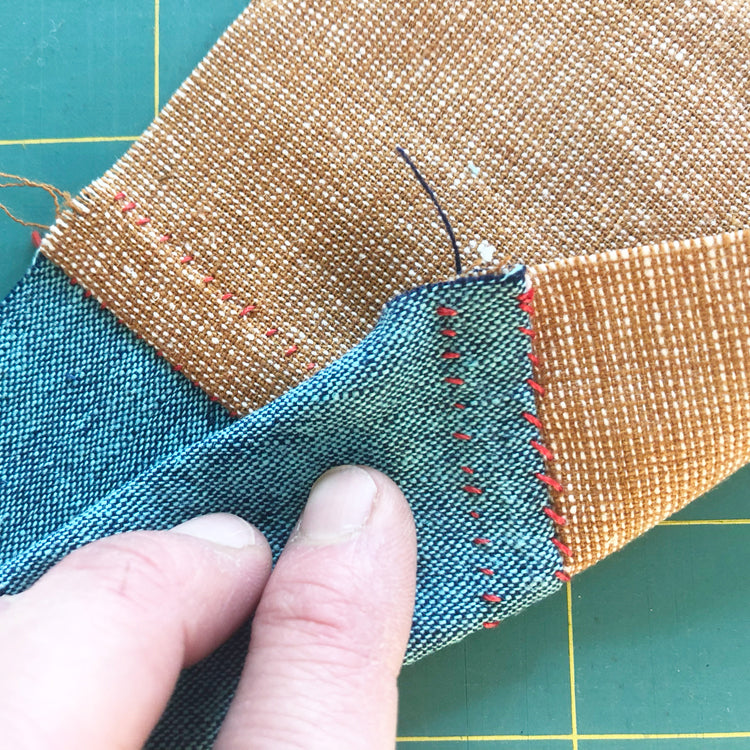
Bojagi-Inspired Flat Felled Seam
When it comes to hand-pieced patchwork, I love the double-sided results I get from this bojagi-inspired flat-felled seam. You can see more of my bojagi...
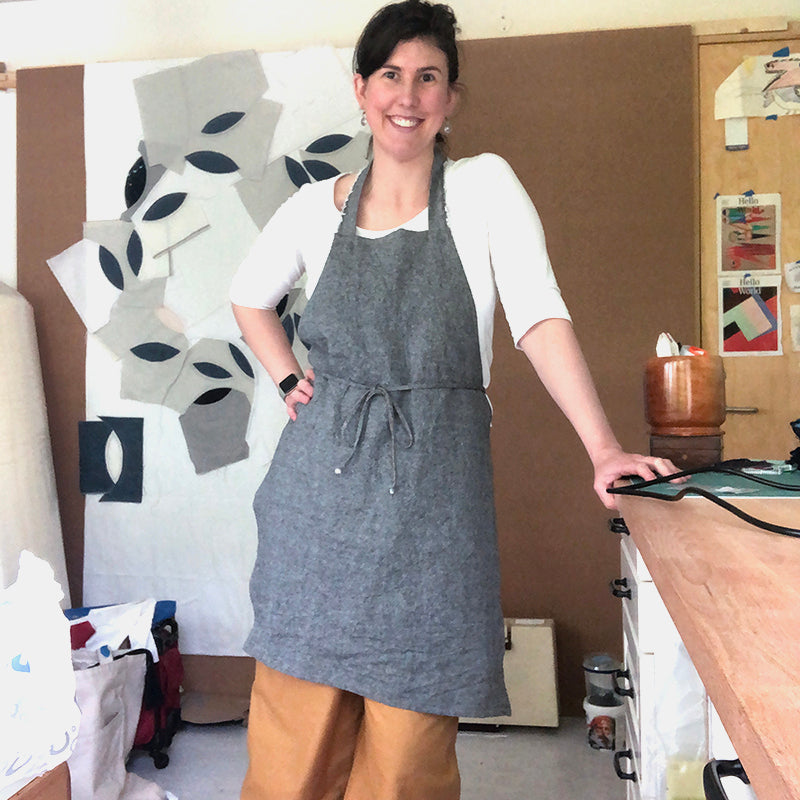
Hand Sewn Apron (no sewing machine used)
Have you heard of #memademay? Every year, clothes makers everywhere take over the internet to share pictures of themselves wearing clothing they made. Zoe Edwards...