
Your post's title
Your store hasn’t published any blog posts yet. A blog can be used to talk about new product launches, tips, or other news you want to share with your customers. You can check out Shopify’s ecommerce blog for inspiration and advice for your own store and blog.
News
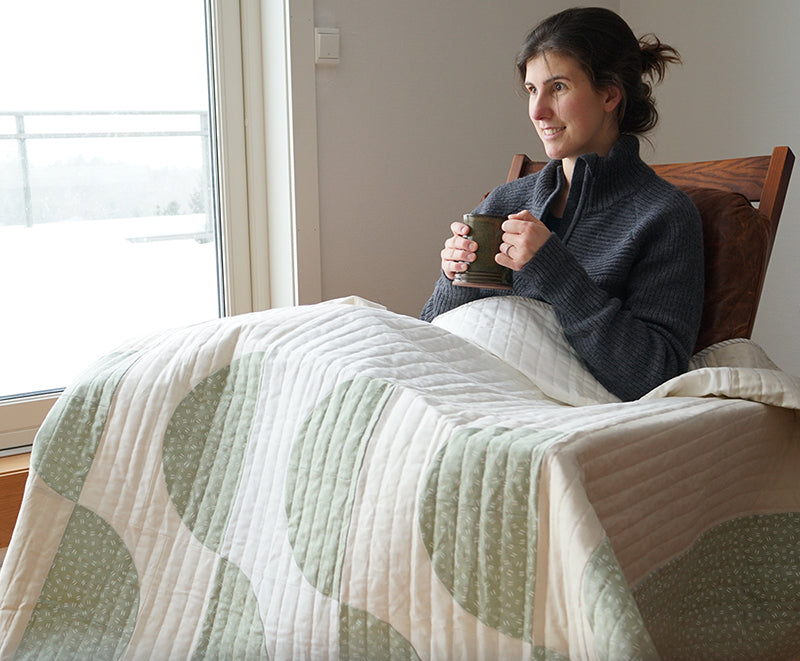
New in Norway
I've been in Norway for over a year now, so to say I'm "new in Norway" is a little misleading. And yet, as we plan...