
Your post's title
Your store hasn’t published any blog posts yet. A blog can be used to talk about new product launches, tips, or other news you want to share with your customers. You can check out Shopify’s ecommerce blog for inspiration and advice for your own store and blog.
News

Favorite Aurifil Thread Weight
The truth is that I love any thread that gets the job done. So to pick a favorite means I need to pick my favorite...
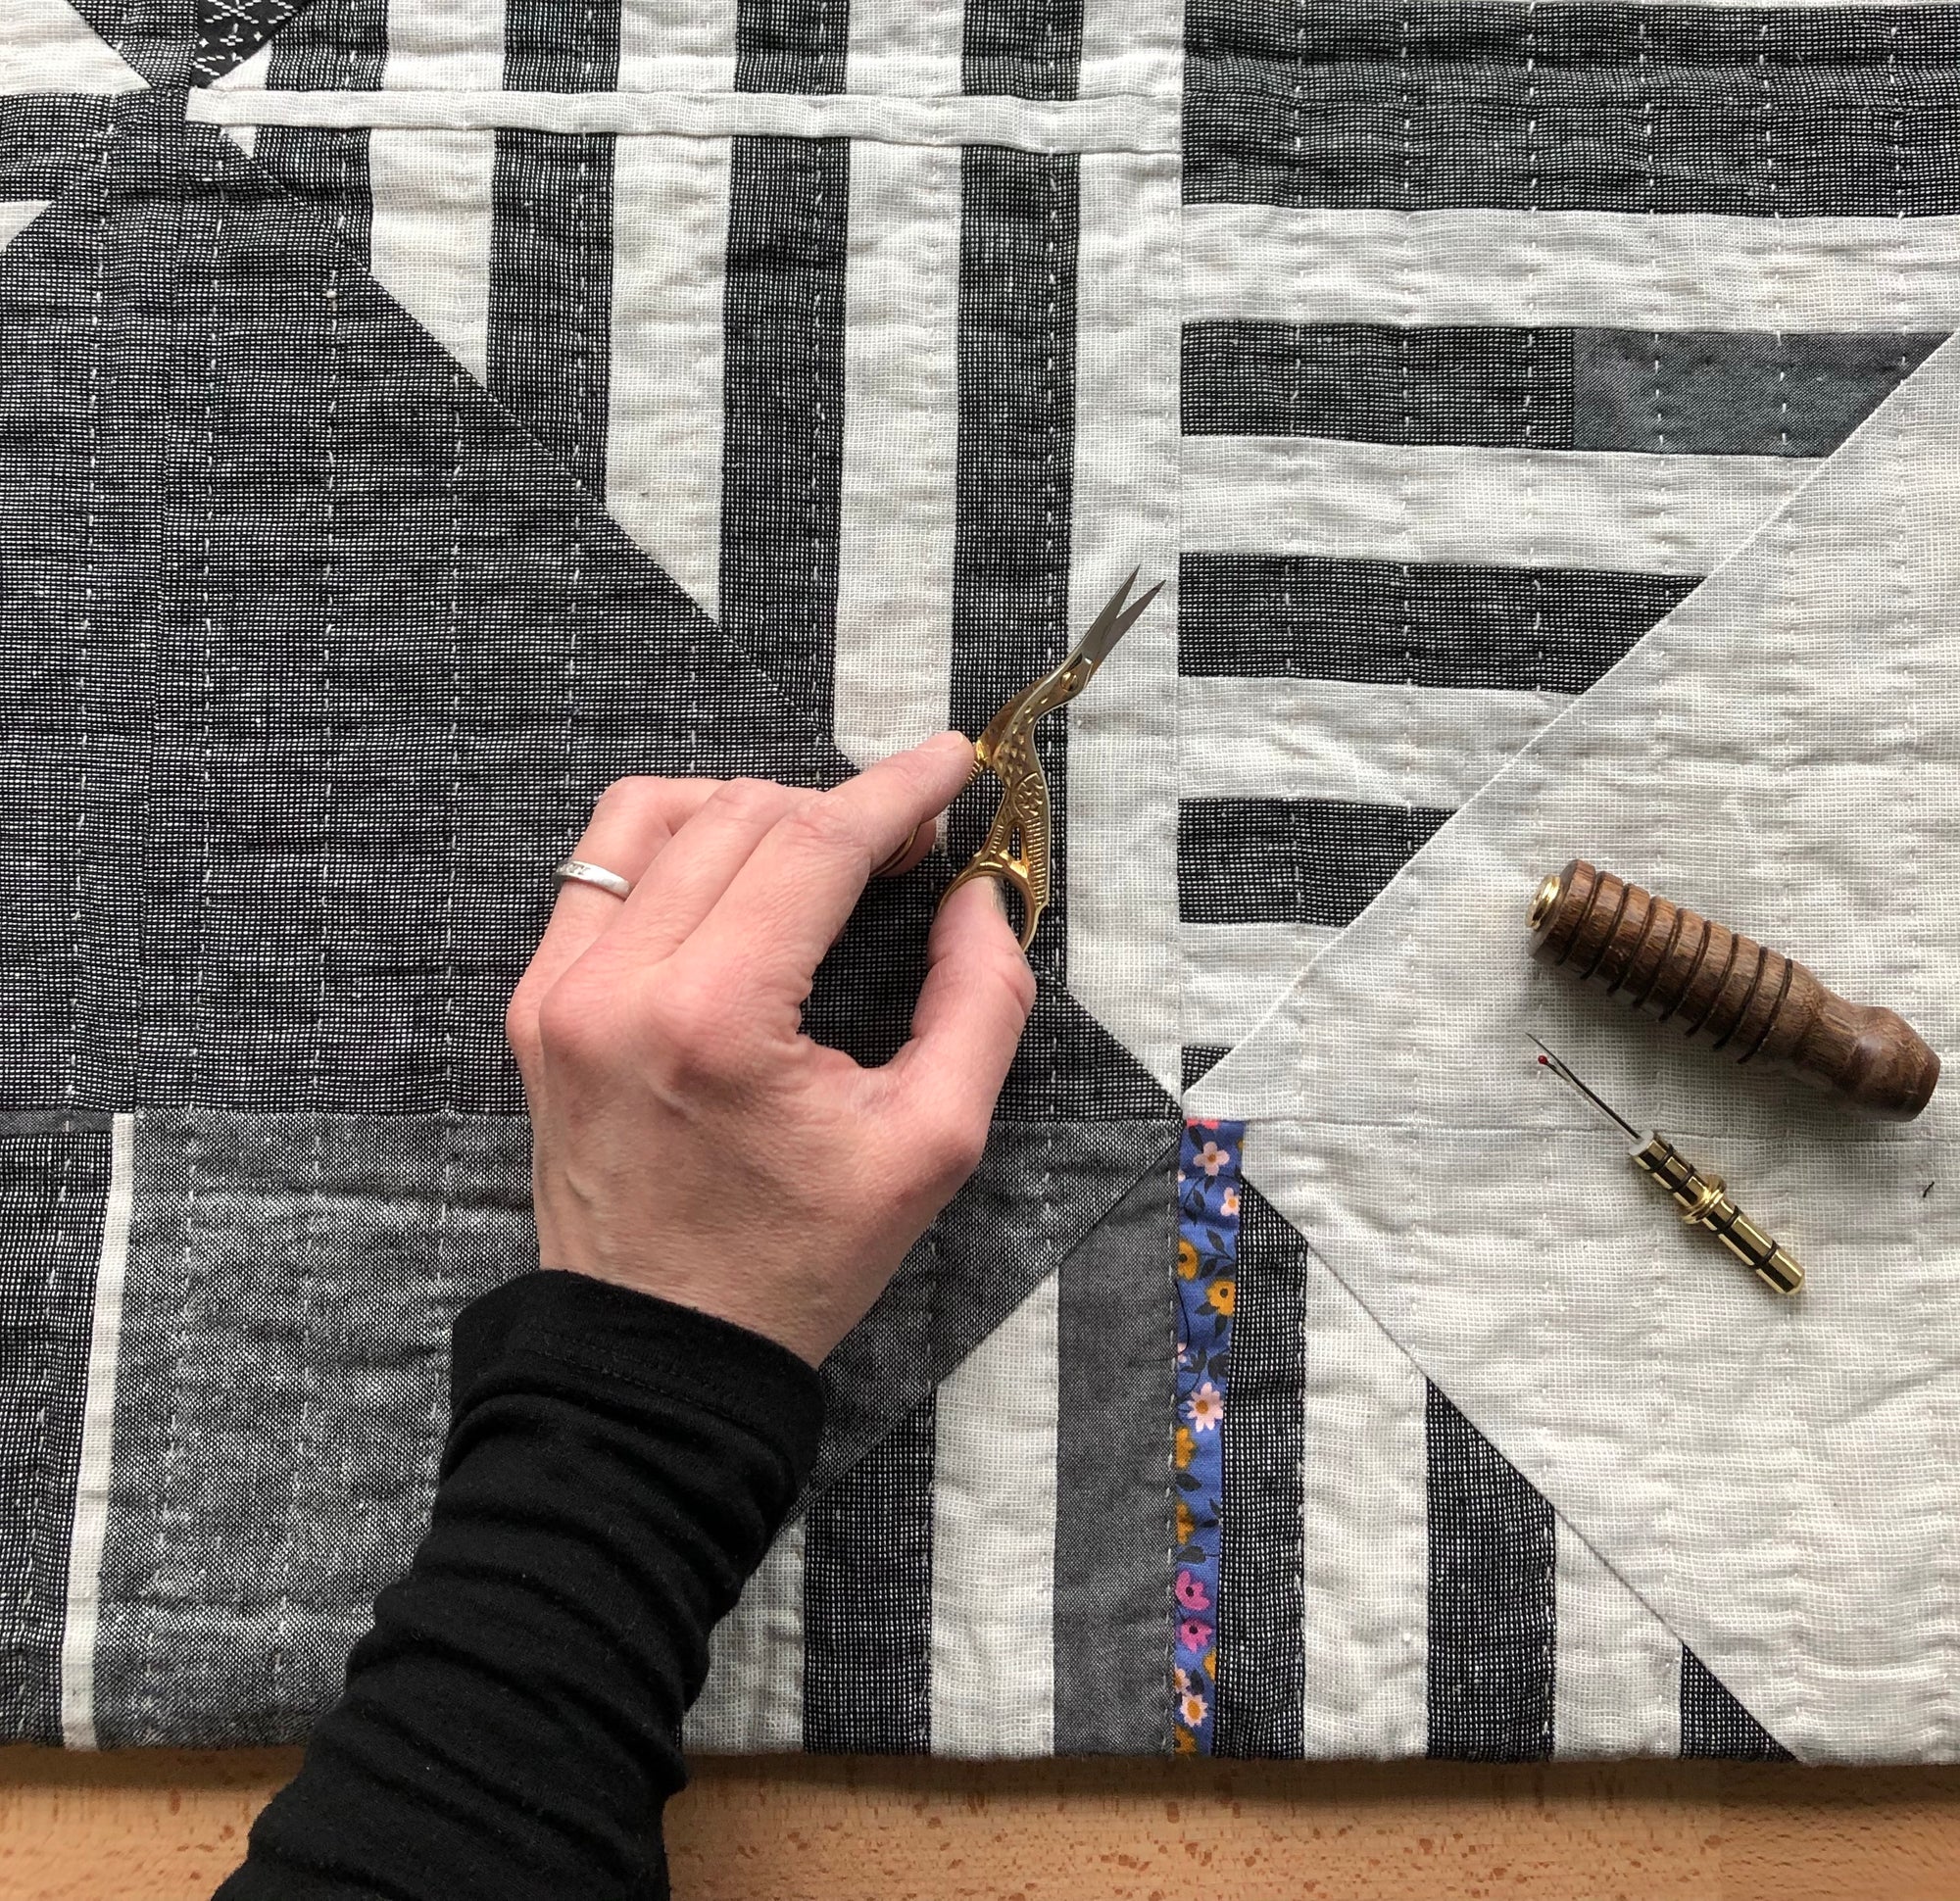
Kantha or Hand Quilting?
Follow my blog with Bloglovin The Aurifil Artisan Challenge this month was to try kantha quilting. Kantha (wiki link) is a style of embroidery from...

Post-Vinegar Soak
After unpacking from Ireland, I wanted to treat my indigo dyed fabric to make them as colorfast as possible. Turns out, the internet has a...

Indigo + Shibori Workshop with Kathryn Davey
Kathryn Davey's Indigo + Shibori workshop was a Saturday of pure fun. I learned plenty and happily took home lots of samples, but the best...
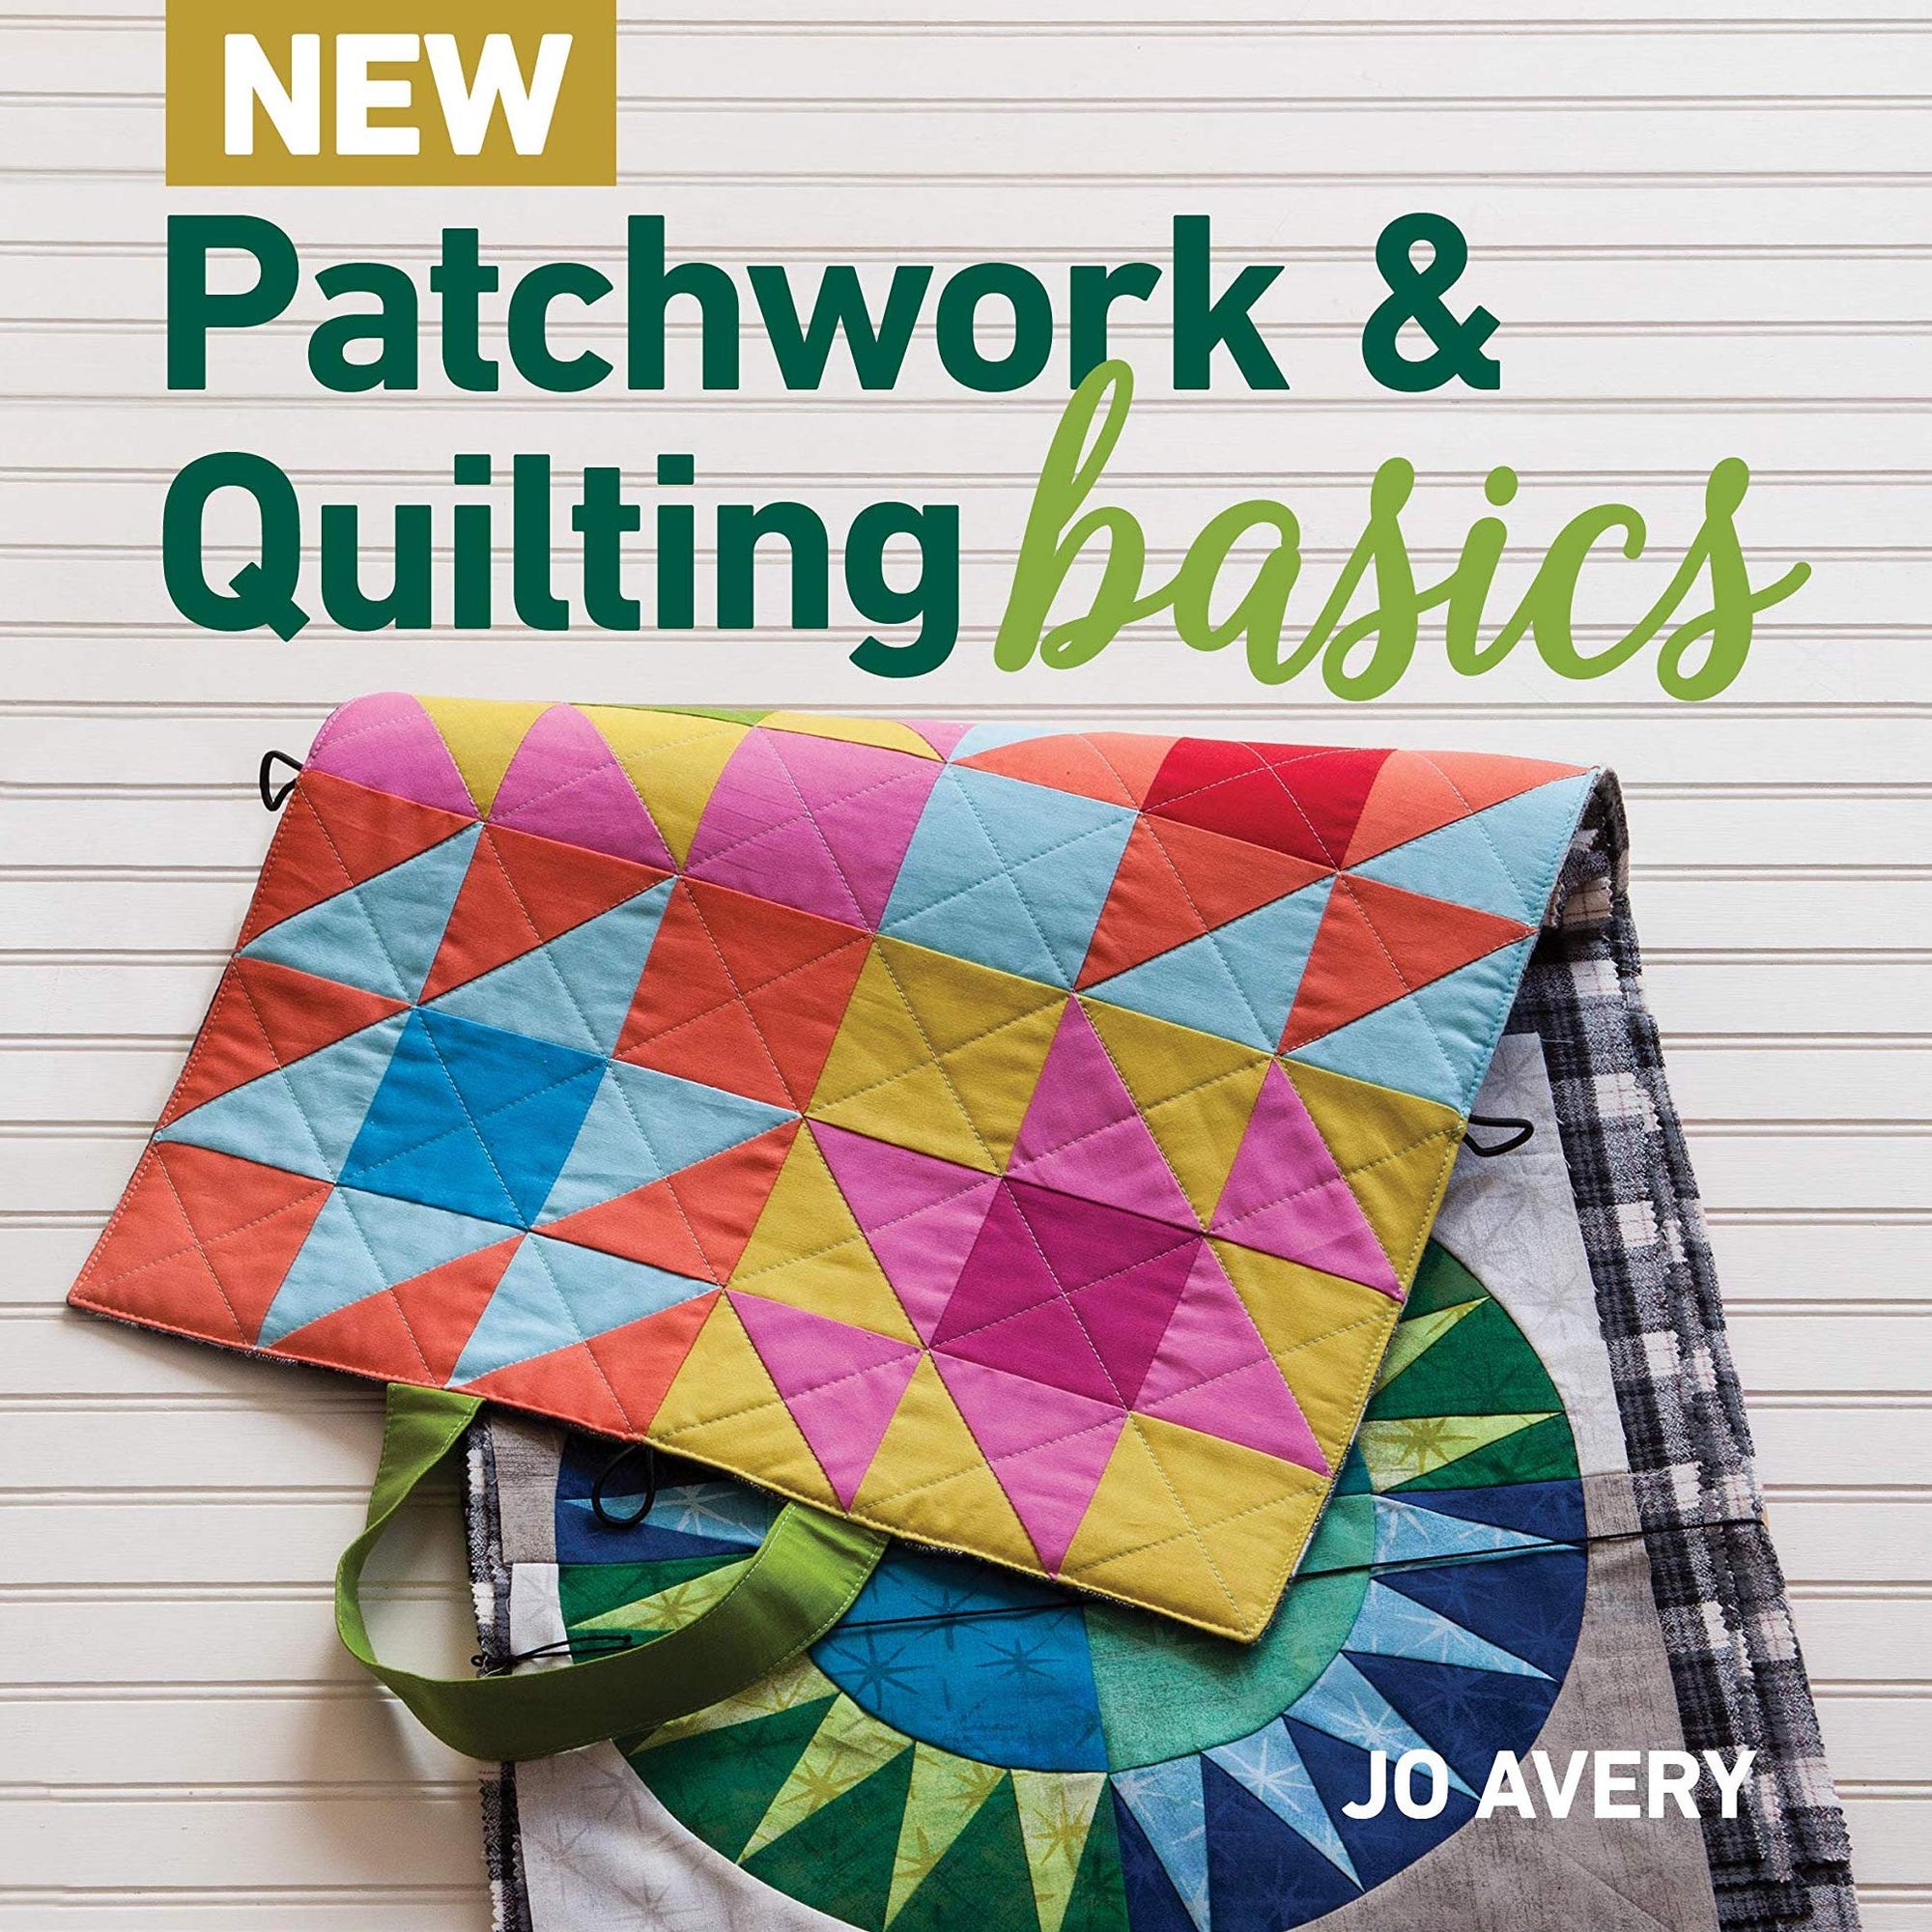
Review of New Patchwork and Quilting Basics
I'm excited to review Jo Avery's book, New Patchwork and Quilting Basics! Jo's book is a fantastic guide for the beginner. There are a dozen...
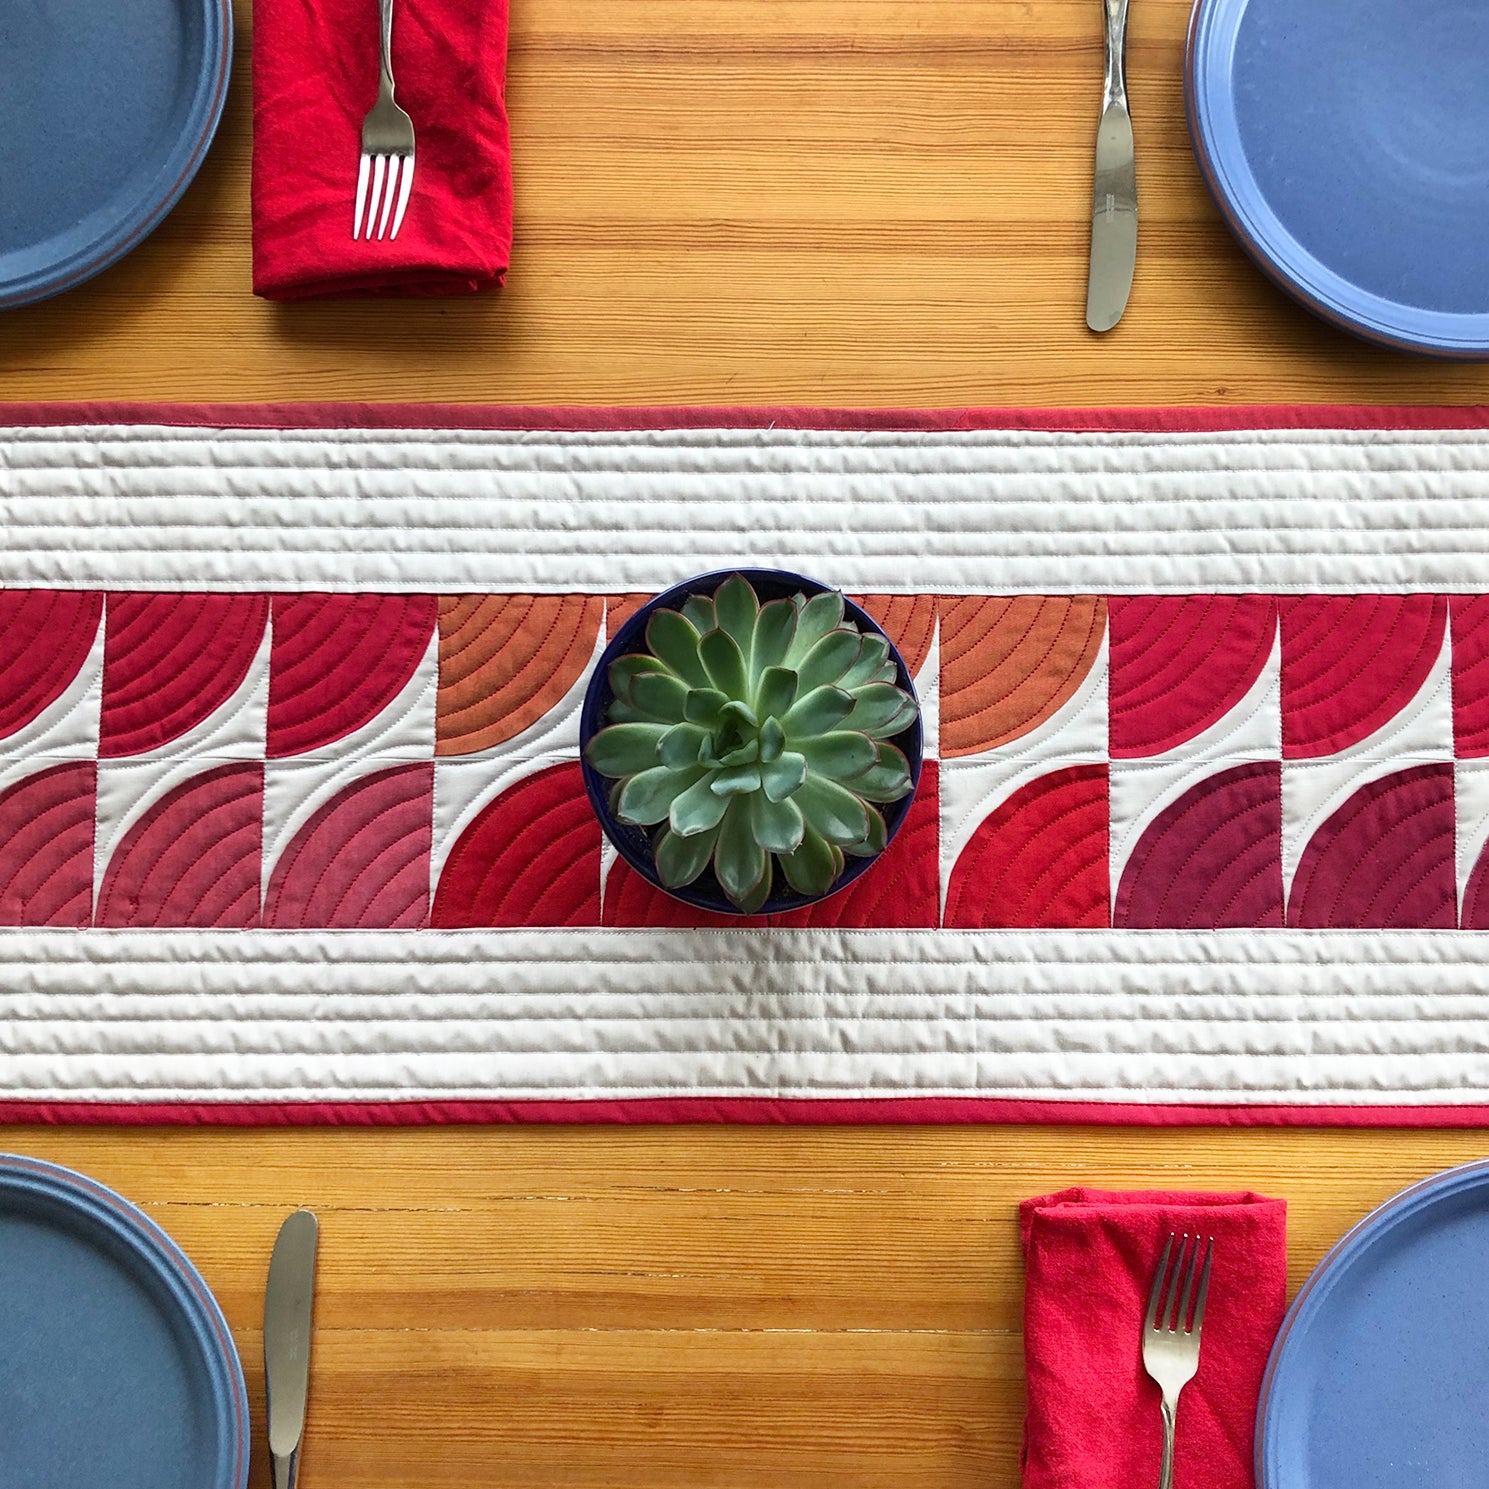
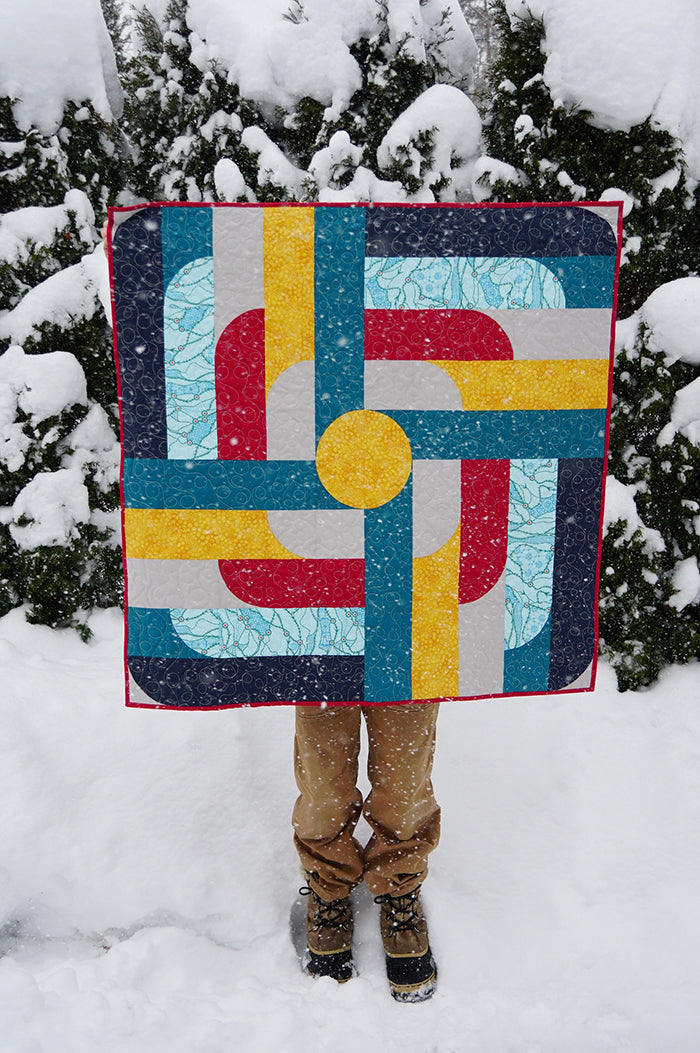
Quarter Circle Table Runner
I had the pleasure of working with a beautiful bundle of Ruby Red shot cottons from Oakshott Fabrics for this table runner. There's just something...
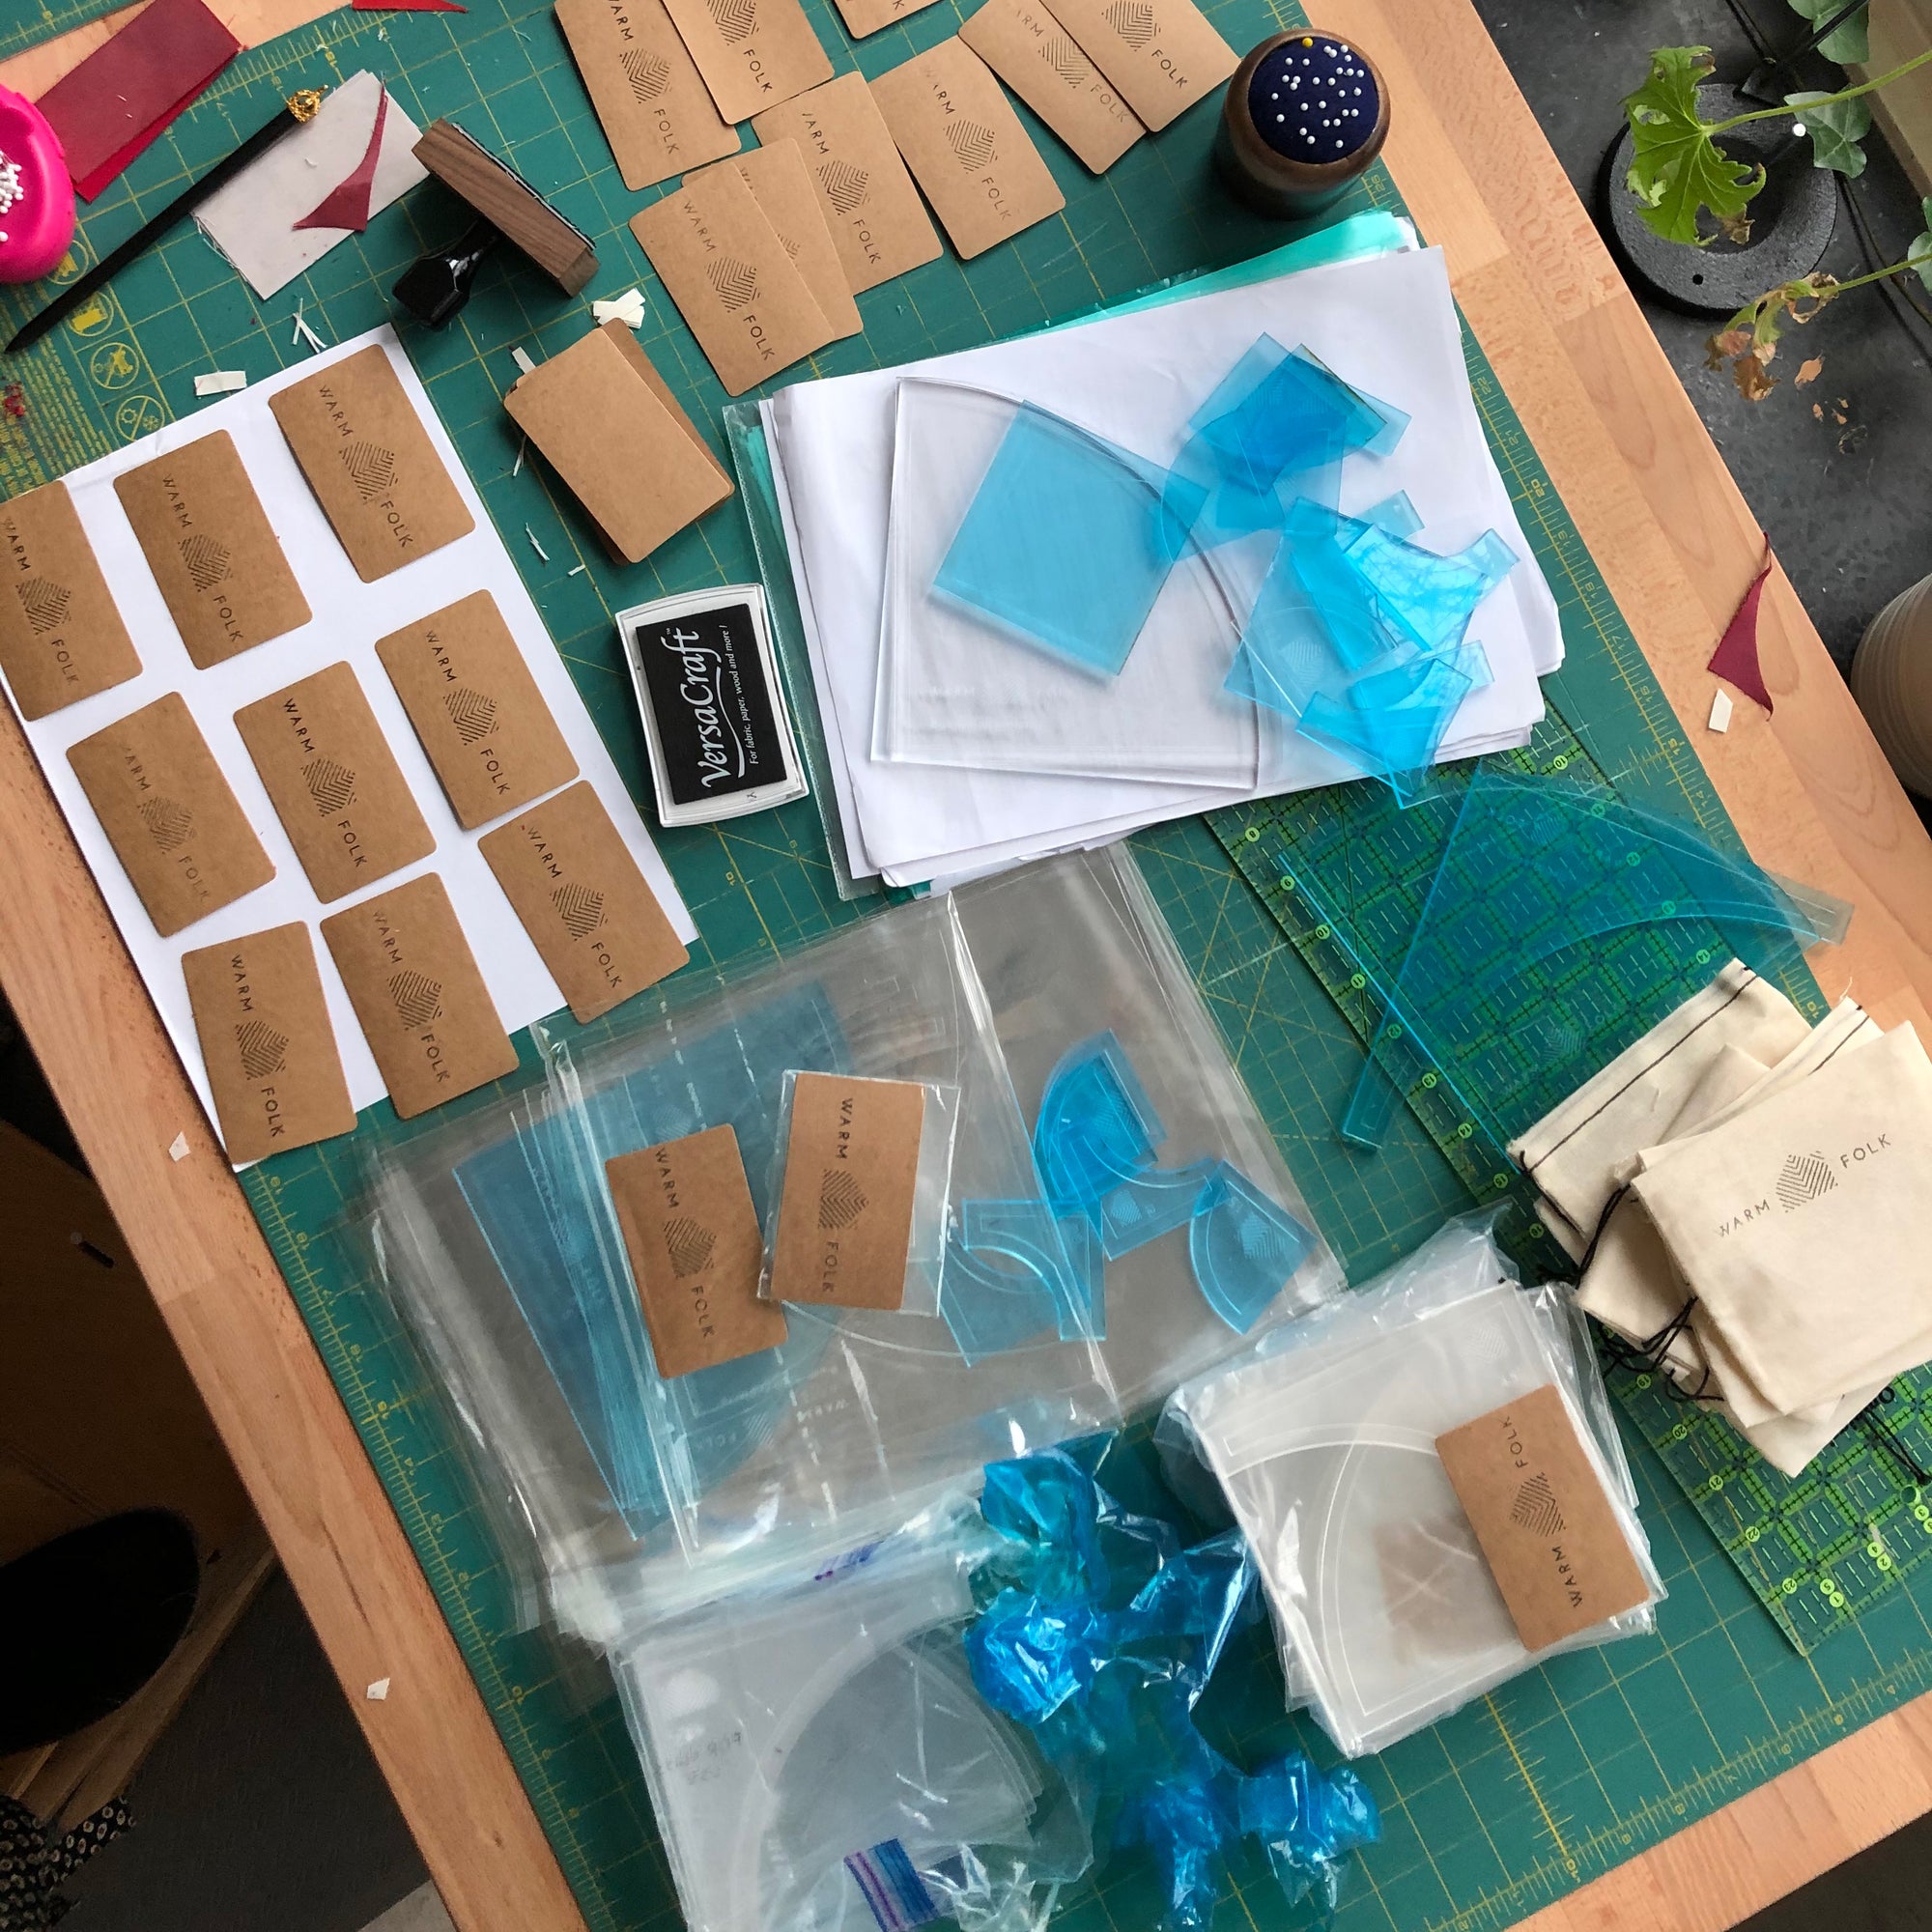
Make Your Own Acrylic Quilting Rulers on a Laser Cutter
For over a year, I’ve been searching on-and-off for a source of custom acrylic templates for cutting quilting fabric. After a few failed attempts at...
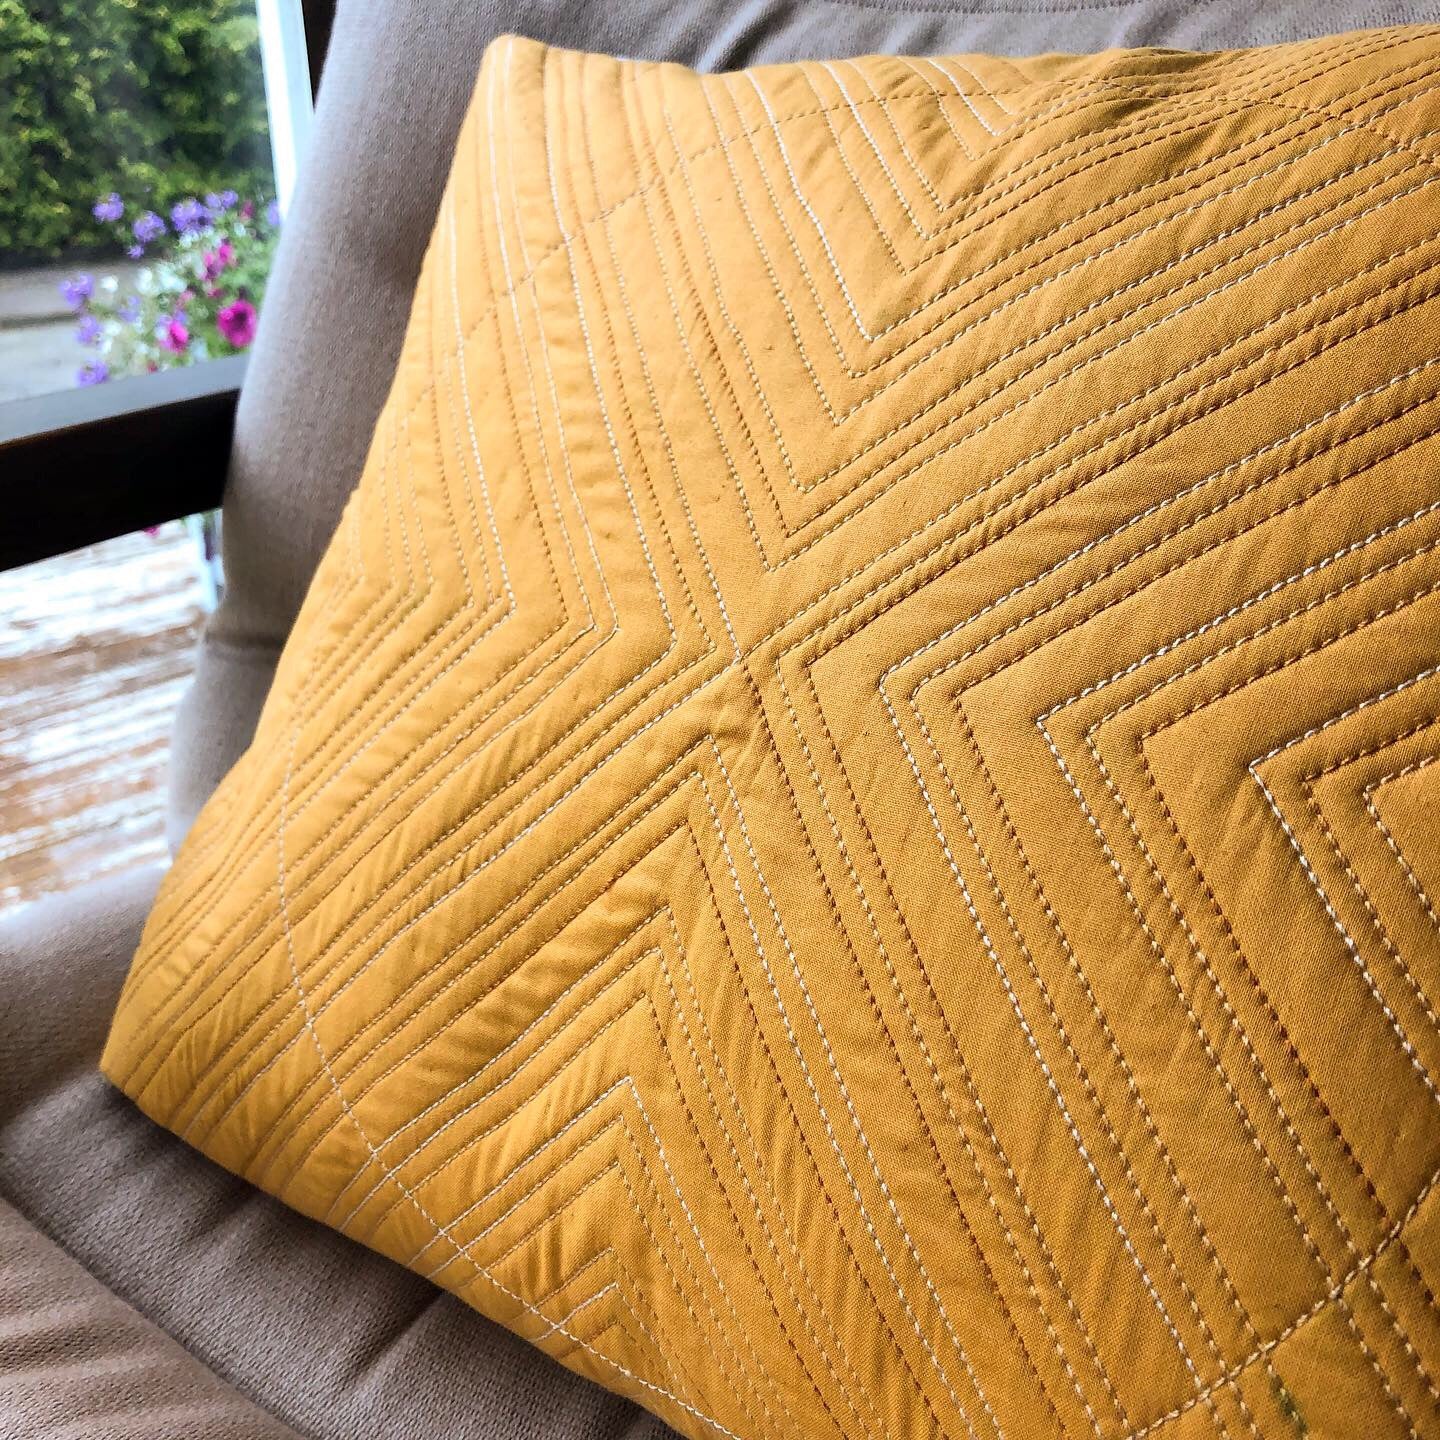
Paintbrush Studios and Aurifil Wholecloth Quilt Challenge
This pillow is a bit of a work in progress. I had wondered about using a water soluble marking pen (not the kind that irons...
Living on Nesodden
Some people talk about how a city feels "alive." There's an energy at all hours of the day, and the lights and noise and activity...